
将域名托管到 Cloudflare
以腾讯云购买的域名为例,主要步骤如下
- 在 Cloudflare 中添加域名
- 迁移腾讯云域名解析记录到 Cloudflare
- 修改域名 DNS 服务器
在 Cloudflare 中添加域名
大致步骤如下
- 登录 Cloudflare 控制台 https://dash.cloudflare.com
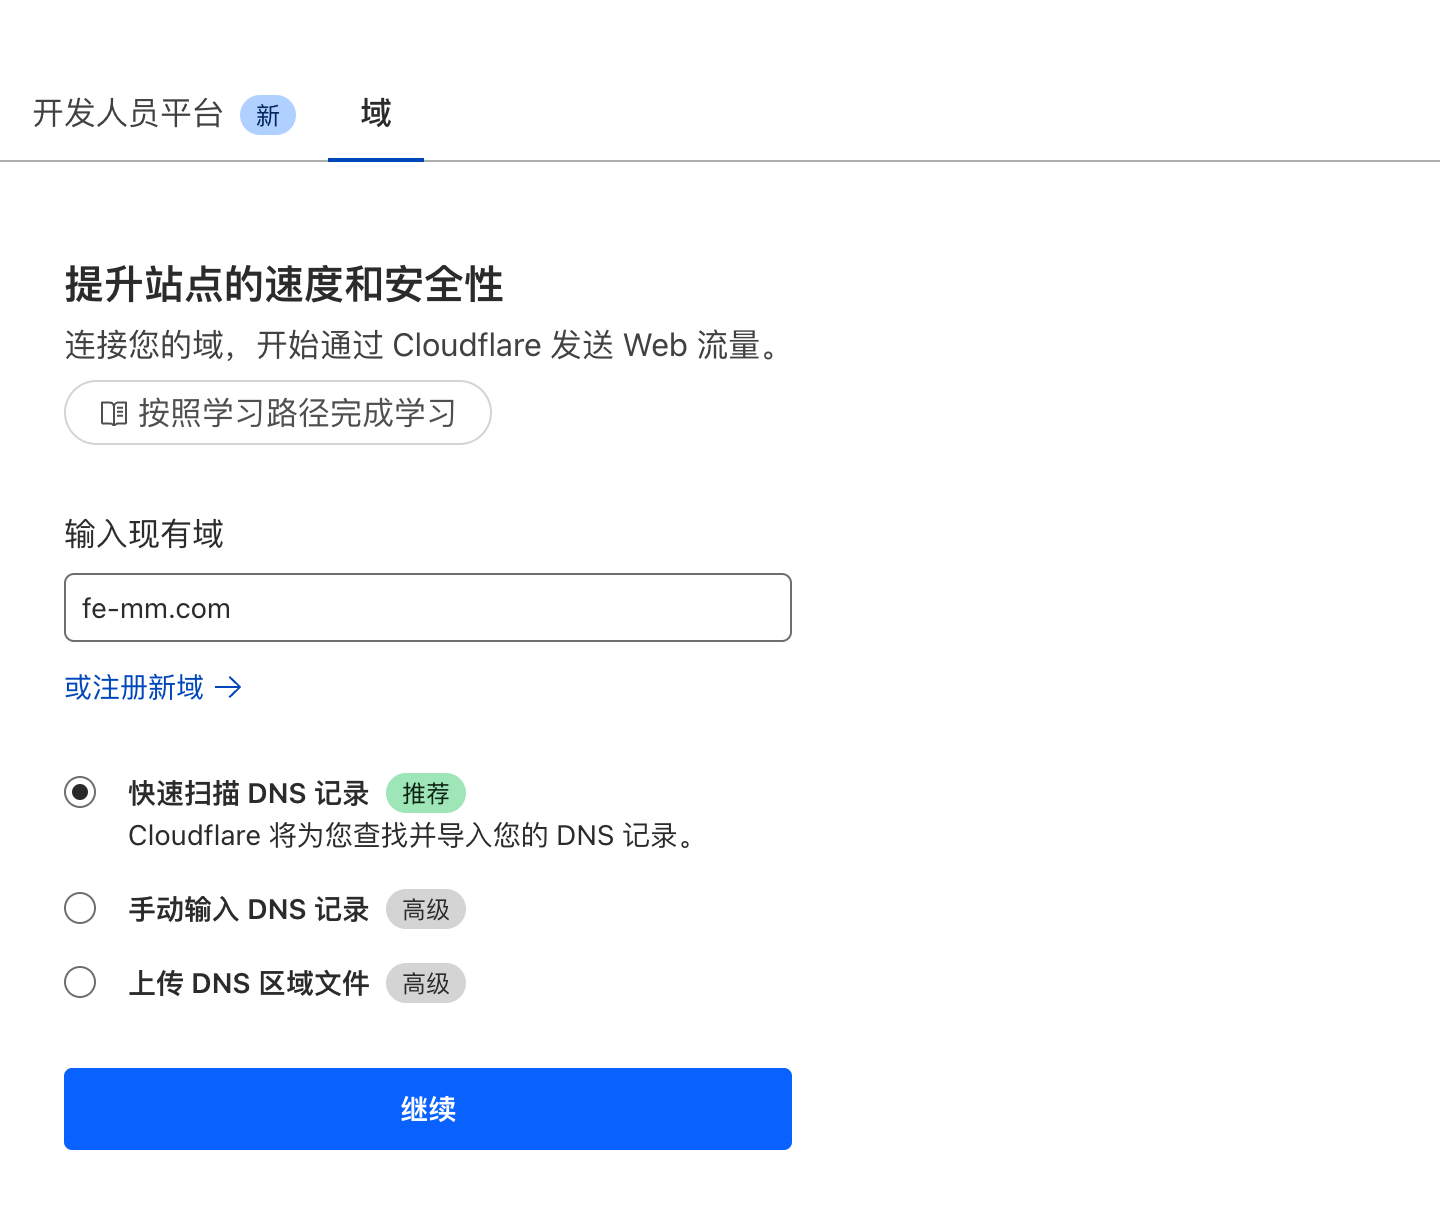
- 打开
账户主页,点击域进行添加域名
添加域名
- 选择套餐
Free
选择免费套餐
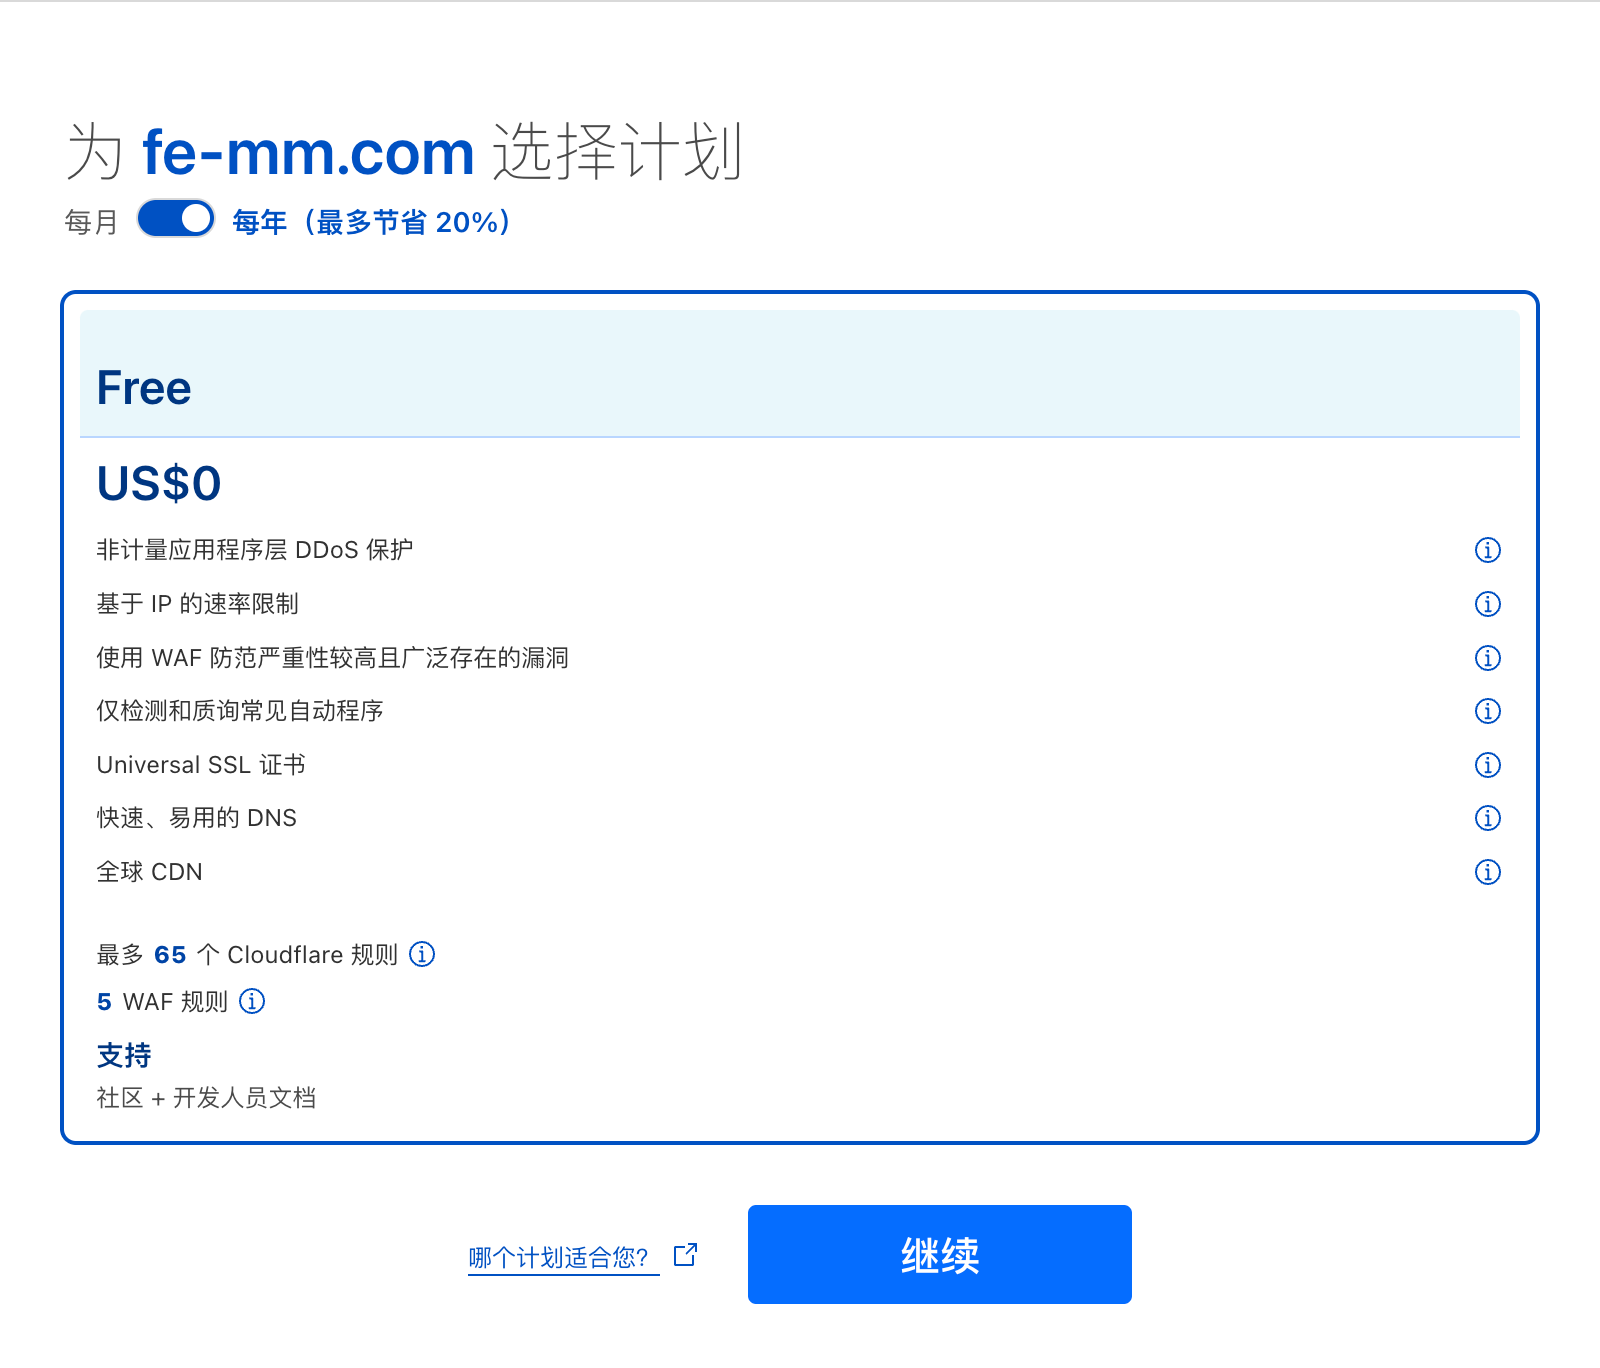
最后点击 继续前往激活 进行下一步操作
迁移原域名解析记录到 Cloudflare
大致步骤如下
- 获取腾讯云域名解析记录
- 导入到 Cloudflare
获取腾讯云域名解析记录
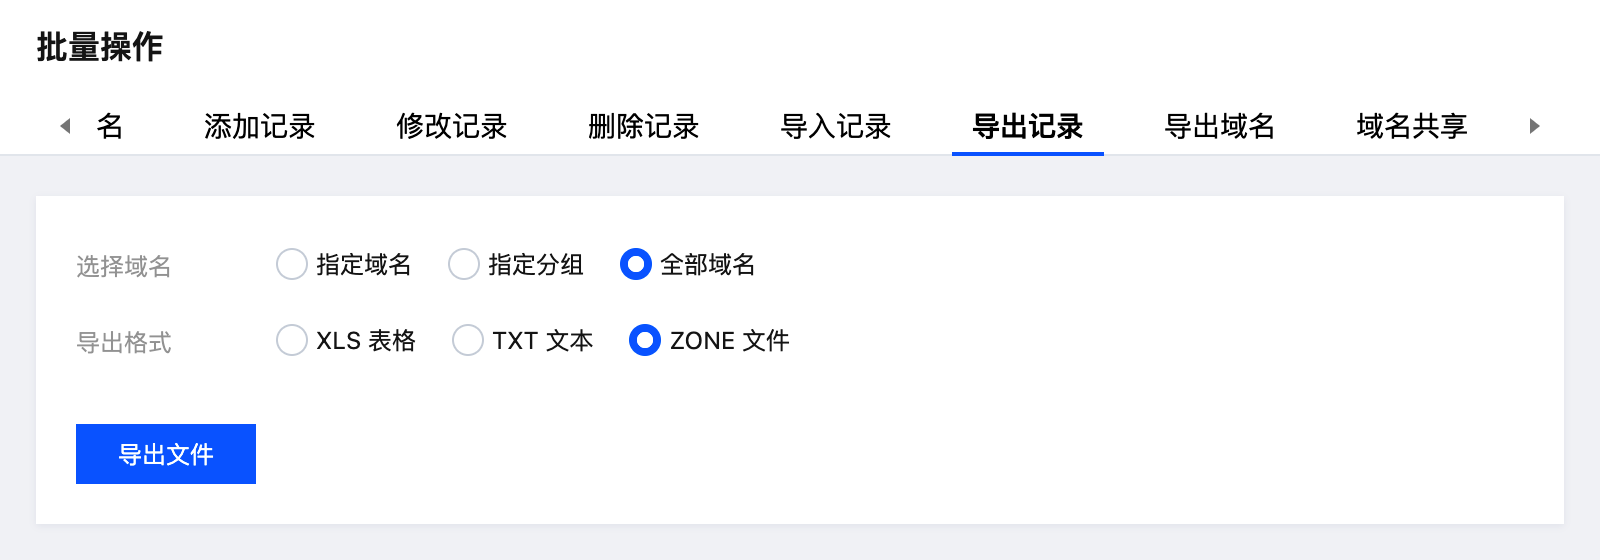
注意点
- 导出格式选择
Zone 文件 - 下载文件后需重命名为
.txt文件
也可以使用 JavaScript 脚本进行导出
- 打开腾讯云域名解析控制台
- 点击域名进入管理页面
- 修改分页大小为
200(大于解析记录数量即可) - 打开控制台,输入以下脚本
js
const ths = [...document.querySelectorAll('table thead th')]
const nameIndex = ths.findIndex((th) => th.textContent.includes('主机记录'))
const typeIndex = ths.findIndex((th) => th.textContent.includes('记录类型'))
const valueIndex = ths.findIndex((th) => th.textContent.includes('记录值'))
const ttlIndex = ths.findIndex((th) => th.textContent.includes('TTL'))

const rows = document.querySelectorAll('table tbody tr')
const domain = location.href.split('/').at(-2)
let zoneFile = ''

// 遍历每一行,提取数据并生成 Zone 文件格式
rows.forEach((row) => {
  const cells = row.querySelectorAll('td')
  // 提取域名、TTL、类型和值
  const value = cells[valueIndex].textContent?.trim()
  const type = cells[typeIndex].textContent.trim().toUpperCase()

  // 跳过 NS 记录
  if (!value || type === 'NS') return

  const name = cells[nameIndex].textContent.trim().replace('@', domain)

  // Cloudflare 默认为自动,即 1
  const ttl = 1
  // const ttl = parseInt(cells[ttlIndex].textContent.trim()) || 1

  // 构造 Zone 文件的记录行
  zoneFile += `${name} ${ttl} IN ${type} ${value}\n`
})

// 创建 Blob 对象并下载
const blob = new Blob([zoneFile], { type: 'text/plain' })
const a = document.createElement('a')
a.href = URL.createObjectURL(blob)
a.download = `zone_file_${domain}_${Date.now()}.txt`
a.style.display = 'none'
document.body.appendChild(a)
a.click()
document.body.removeChild(a)导入到 Cloudflare
- 点击
导入 DNS 记录 - 选择刚刚导出的
.txt文件 - 点击
上传 - 上传完以后点击
继续前往激活
修改域名 DNS 服务器
大致步骤如下
- 打开腾讯云域名解析控制台
- 找到需要操作的域名,点击
更多 — 修改 DNS 服务器 - 点击
自定义 DNS - 输入 Cloudflare 提供的 NS 记录
- 点击
提交
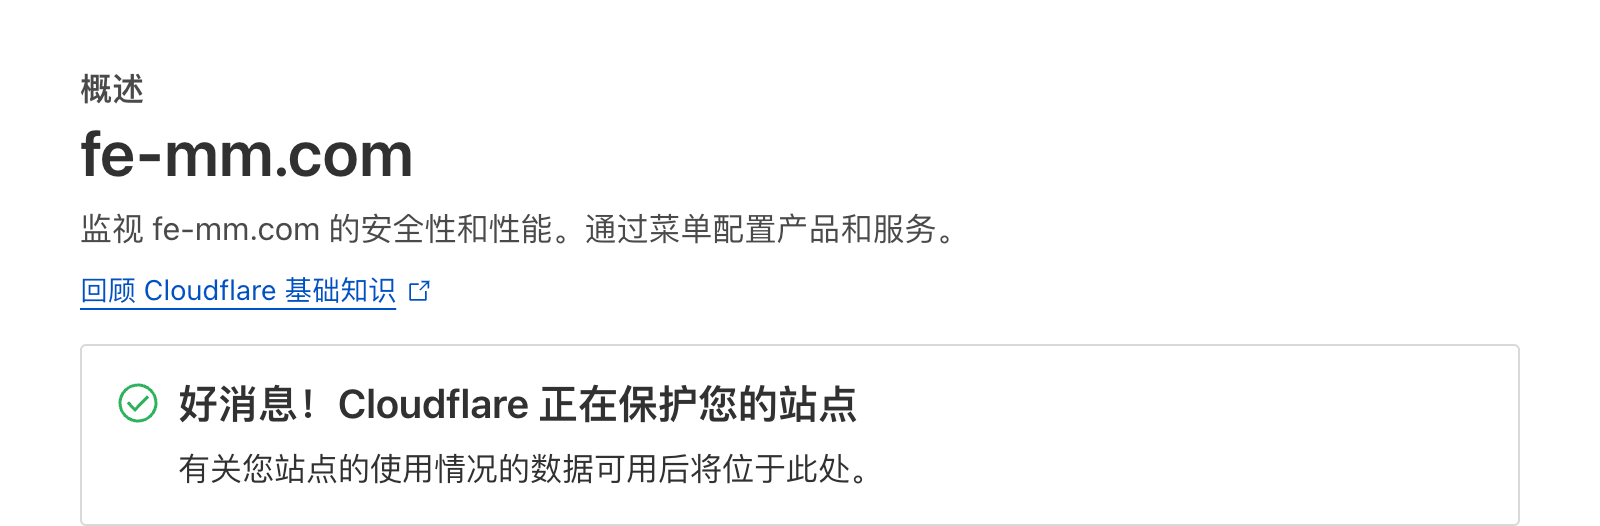
最后等待 Cloudflare 完成 DNS 服务器验证即可
验证成功如下图